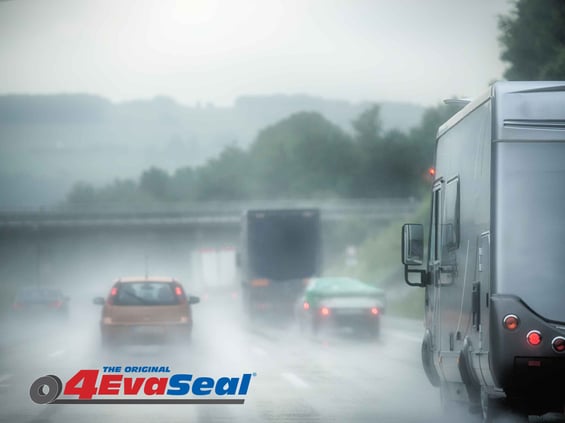
Recreational Vehicle (RV) roofs have to endure weather conditions of every other type of roof but also need to handle 70 mph winds on the highway. The roof will flex and twist as the RV is in motion and endure the occasional low hanging branch at a campground. Damage can happen and, when it does, a permanent waterproofing repair tape is often the best solution.
Damage can happen, and when it does, a permanent waterproofing repair tape is often the best solution.
Take the following steps to repair the damage:
- Locate the damaged area on your RV roof.
- Clean the surface thoroughly and allow it to dry completely; acetone or denatured alcohol work well as cleaners.
- Cut a sufficient length of tape from the roll and start to peel back the release liner. Apply the tape, making sure you use pressure on the tape to assure it makes 100% contact with the surface of the RV roof.
- Peel back more of the release liner and keep applying pressure to the tape. Using a steel roller is recommended. This will help to make sure that the tape’s adhesive has fully made contact with the roofing membrane.
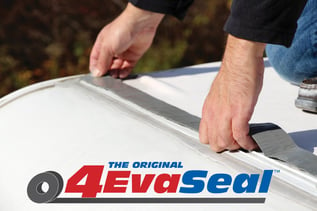 Preparing the surface is the most important part of the repair job. Take extra time prior to the steps above to assure the surface is thoroughly clean. Test apply a small piece of tape to check the bond if necessary. If the roof tape is nearly impossible to remove your surface is ready.
Related article: Maximizing Adhesion of Peel and Stick Tapes in 3 Simple Steps
If you need to make this repair with temperatures under 40°F, it is recommended that you use a primer to enhance adhesion.
If the area of damage is too large for the tape alone to cover, you will need to purchase a large enough square of roofing membrane. Cut away enough of the damaged membrane to create room for the new membrane section. Glue down the repair piece of roofing membrane as recommended by your supplier. Follow the steps above to seal the edge of the new roof material to the old existing roof membrane. It is important that the tape be smooth and in 100% contact with the roofing membrane on both sides of the seam. Gaps allow water access but if the tape is in contact, it will act as a barrier to moisture. Again using a steel roller will help make sure that the tape has made contact.
![]()
The backing of your RV waterproofing repair tape is the most important part of the product. A strong, thick UV resistant backing will help protect the adhesive for years.
Related Article: The Best Waterproofing Tape in The Market is 4EvaSeal® - Study Shows
Don’t let that branch ruin your fun. Keep some 4EvaSeal tape in your RV so you can stay dry and enjoy the outdoor life.
For information on 4evaseal Multi-Purpose RV repair tape click here.